Apple Cinnamon Pull-Apart Bread
Sweet apple cinnamon pull-apart bread, perfect for breakfast or dessert! Fluffy layers of cinnamon bread, packed with a thick cinnamon-sugar filling and apple slices.
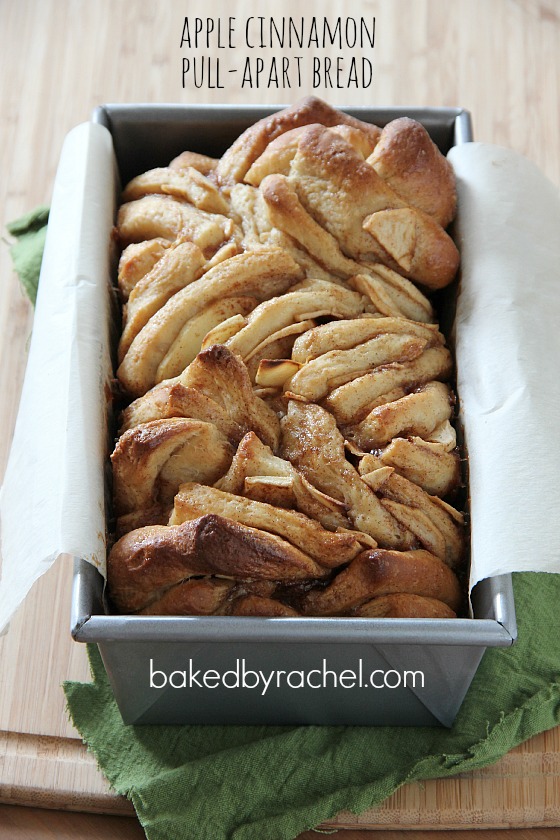
This bread is magical. Fairy godmother kind of magic, turning pumpkins into beautiful carriages. Really, over the top and completely unbelievable kind of magic. It created peace and quiet in my house. Maybe only for ten minutes, but it was a glorious ten minutes. The only noises heard were that of two children going ‘mmm mmm’ and licking their fingers clean. Too bad it was only a temporary lull in the normal noises of the day, but I’ll take whatever I can get.
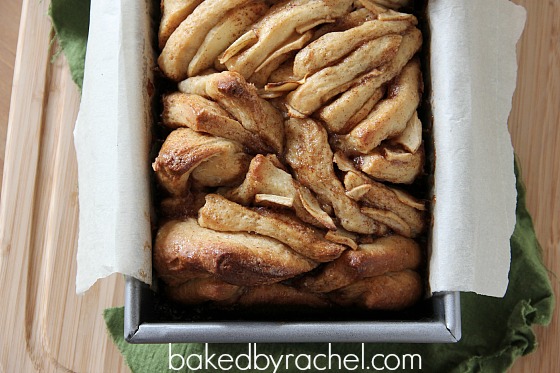
This definitely takes a bit of work and planning but it’s completely worth it. Remember those magical qualities. I prepped the dough the night before and whipped this up in the morning. The hardest part is in the layering and slicing but since it’s going to turn out in funky beautiful layers anyway, those layers don’t need to be anywhere near perfect. This is the kind of bread that is meant to have character. It’s meant to have pieces of bread and apples scattered about and not necessarily in a neat little row.
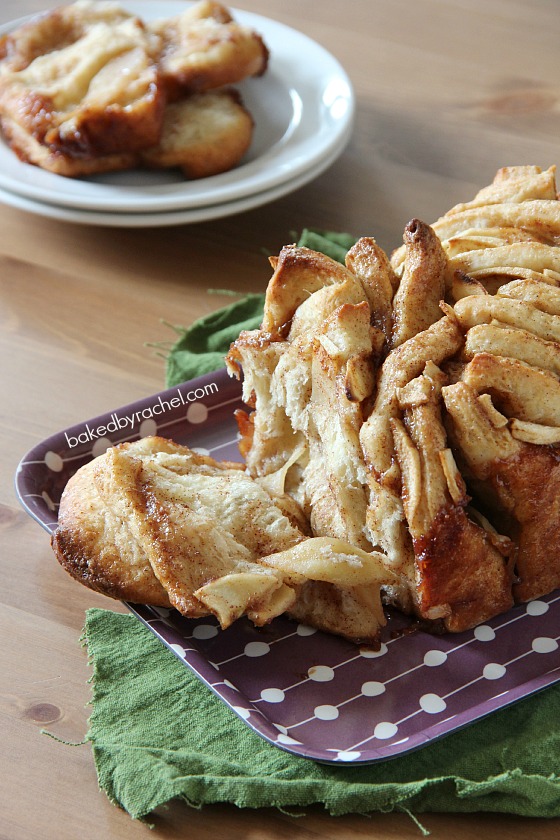
Eat this for breakfast, lunch and dinner or snack… or maybe all of the above. And just maybe with a scoop of ice cream. Fluffy layers of cinnamon bread packed with a thick cinnamon-sugar filling and apple slices. You need this in your life.
Apple Cinnamon Pull-Apart Bread
Ingredients
Dough ingredients:
- 3 1/4 - 3 1/2 C all purpose flour
- 1/4 C granulated sugar
- 1/2 tsp salt
- 3/4 tsp cinnamon
- 2 1/2 tsp rapid rise yeast
- 4 Tbsp unsalted butter, melted
- 1/3 C lukewarm milk
- 1/4 C lukewarm water
- 2 large eggs
- 1 tsp vanilla extract
Filling ingredients:
- 1/2 C light brown sugar
- 3/4 tsp cinnamon
- 1/2 tsp vanilla
- 3 Tbsp unsalted butter, melted
- 2 C apples
Instructions
- In a stand mixer or large bowl, combine dry dough ingredients. In a medium bowl or measuring cup, combine remaining wet dough ingredients. With the mixer on low, begin slowly pouring in the liquid mixture. Increase the speed to medium until dough has come together in a soft ball. Add additional flour as needed, a spoonful at a time until it is no longer sticky.
- Transfer dough to a lightly greased bowl. Cover and allow to double in size, roughly one hour. If preparing ahead, chill dough overnight. Cooler, firmer dough will roll out easier. Allow dough to sit at room temperature for 20-30 minutes prior to rolling.
- Line a loaf pan with parchment paper or lightly grease pan, if preferred.
- Prepare filling; combine first 4 ingredients. Peel, core and slice apples very thin. Roll out dough, on a lightly floured surface, into a 12 x 20" rectangle. Cover with cinnamon filling. Top off with apple slices.
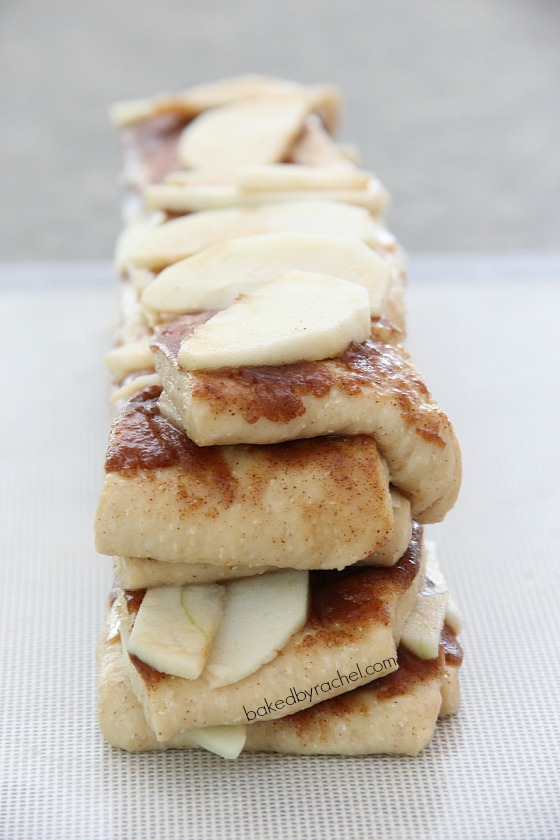
- Cut dough into 6 sections, roughly 3 x 12". Carefully lay sections on top of each other, this will be messy and dough may stretch (it's okay!). Cut dough into 6 stacks. Turn stacks on their sides and tightly pack into prepared loaf pan. Allow to rise for additional 30-60 minutes or until roughly doubled in size.
- Preheat oven to 350F°. When dough has doubled in size, bake for 45-55 minutes. After 30 minutes, cover with foil and continue baking. When bread is golden brown, remove from oven and cool on a wire rack.
- Store bread in an airtight container.
Notes


I have always wanted to make a pull apart bread, this recipe has just pushed me to try it this week. Looks amazing!!!
THIS would make me the happiest girl ever! Looks so amazing!
Oh my word – I wish I had this in my house today. My guys would want a glaze on top, but it looks perfect as is to me!
Seriously! I want to eat about half the loaf!
We kinda, sorta, mighta done that before the Mr got home lol. Oops.
Gorgeous! And I can see how it is totally magical. I want some now!
Looks absolutely delightful and I can’t wait to make this for my family!
You should’ve waited until my husband was home to do apple month! He would love all these recipes! :P
Rachel- this is seriously the best looking loaf of bread ever! My husband is an apple freak (he keeps asking when I’m making my recipe for this appleaday series..haha) and will totally flip over this. Our anniversary is next Sunday, I’m thinking it might have to happen :)
This looks amazing Rachel!
Wow, not only does it sound amazing…it’s beautiful!! Loving all of the apple recipes, Rachel!
wow this is gorgeous. i’m not quite sure i could achieve what you did because i’m horribly messy and bad when it comes to layers like that hah
Yum. This is seriously mouthwatering!
This sounds ridiculously good! I’ve never made pull-apart bread but this is now high on my to-do list.
That pull apart bread looks awesome! Love the shape ~ pinning now!
Oh my word does that ever look good! I would seriously eat the entire thing myself in a day.
Can’t wait to make this bread!
You’re killing me. That bread does look magical!
I think this is my favourite version of this bread that I’ve seen! It sounds, and looks, amazing.
Making this!!!
Looks so good! Pinning this. Has to be made soon. I could use a little peace and quiet :)
It may be a little time-consuming to make but it certainly looks worth all the effort! I can imagine the delicious aromas in your house when this was baking.
This looks absolutely amazing!!! I want to make it right now!!!! Thanks so much for sharing this amazing recipe!
wow. I’ve always wanted to make pull apart bread, just need to make myself finally do it! I like your clear instructions.
That bread looks amazing
Wow, this looks just awesome. Or magical ;) Love the inclusion of apples into the pull-apart bread and I just wish I had a pan in front of me right now… I’m featuring this post in today’s Food Fetish Friday (with a link-back and attribution as always). Thanks for always inspiring me with your creations…
wow half a loaf please
Just seeing this by way of pinterest…you outdid yourself!!! Awesome and I want to pull apart a big hunk for myself!
ah…beautiful!!!!
Made this tonight… FANTASTIC – can’t wait to take it to work :)
i made this today and for some reason mine looks like a disaster :(
It’s not the easiest dish to make look pretty but it sure tastes great! :)
it is not and i was testing if i could do it and it i snot even close to what it look like in the picture. it doesnt even taste good :(
I’m sorry to hear you had trouble but as you can see from the photo, it turned out for me and has worked for others. Without having been there I can’t be sure what went wrong for you as there are so many factors that come into play when baking.
I know this is a late comment, but just came across your website thru your Pinterest board. Do you refrigerate before the first rise or let it rise, punch down and then refrigerate so it does a slow second rise in the fridge over night.
If preparing ahead, chill after the first rise. If you’re not preparing ahead, do not chill dough.
I’m far from a baker but would love to try this recipe as it looks and sounds delicious. Are there any shortcuts you could suggest for those of us not ready to make our own dough?
I’m sure i’m not the only challenged person that would love to try your recipe.
Any ideas?
In the case of homemade bread, it’s really worth it to make it from scratch. I understand it may be intimidating but it’s truly not that hard at all. The taste is that much more amazing than any shortcut you might take.
Store in an airtight container? You’re assuming there will be some left to store!
This looks delicious!
Haha! Love your comment. Yes… only *if* there is any left to store ;)
Hi! I have this working away in my stand mixer right now. Smells amazing! I was wondering how well a loaf of this bread freezes. If it freezes well, I could just take it out of the freezer for Thanksgiving brunch! Have you tried to freeze it?
I haven’t personally frozen it so I can’t give you an honest answer. If you try freezing it, please let me know how it turns out for you!
i made this apple bread this morning, and it is already half gone. Thank you! It is delicious!
So glad you enjoyed it! Thank you for sharing :)
Could you please advise what size loaf pan you use.
A large 10×5-inch pan should be used. Enjoy!
Apologies, but I am not clear on one more thing.
After the dough is rolled into a 12 x 20 inch rectangle, we cut it into six 3 x 12 inch pieces, which I understand.
I am confused about the next step….cut into 6 stacks.
Could you please clarify.
Thank you.
Layer the 3: 12-inch pieces and then cut that into 6 equal sections/stacks. :)