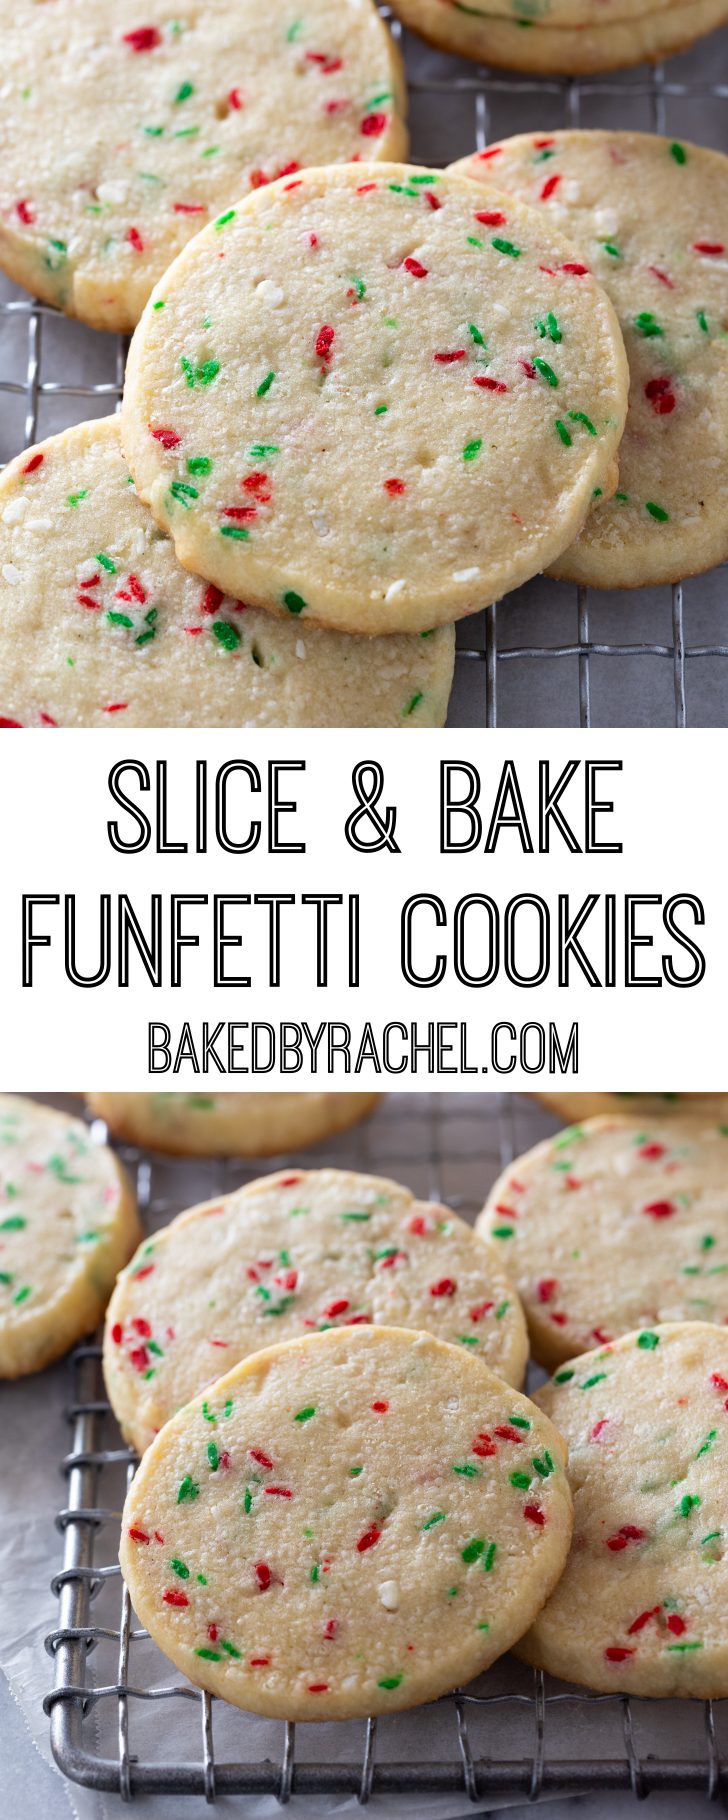
Slice and Bake Christmas Funfetti Cookies
Super easy homemade slice and bake Christmas funfetti cookies! A classic must make treat for holiday parties and cookie exchanges!

Let’s talk about these amazing slice and bake Christmas funfetti cookies!
If you’re a fan of super simple and classic cookie flavors, then these funfetti cookies are perfect for you! Their flavor and texture is a perfect cross between a sugar cookie and shortbread cookie. A well balanced buttery-vanilla flavor with a hint of almond extract… if you choose to use that, of course! The combination of vanilla and almond is incredible. I highly recommend giving it a try. Check out the notes below for almond extract info!

And can we discuss how easy these slice and bake cookies are to make?!
I’m a huge fan of slice and bake cookies, especially around the holidays. Prep the dough ahead, chill in a log form – then chill or freeze until you’re ready to slice… AND BAKE! It’s really that simple.
The trickiest part is shaping of the dough and keeping it in a smooth log with no flat bottoms!
The trick to no flat bottoms…? Wrapping paper rolls! Seriously. Not the firm center but the ones that are a single sheet of thick paper rolled several times to create that center of the wrapping paper roll. Of course, if you don’t have that… you can always use the center of a paper towel roll. Slice the paper towel roll lengthwise OR cut the wrapping paper roll down to size (not lengthwise). With the wrapping paper roll, you’ll keep it at it’s full length (think fully unrolled) and cut the ends down to size, 10 to 12 inches would be perfect! Then place your shaped and wax paper wrapped dough in it to prevent flat bottoms! Another option, place your dough inside of two large straight side glasses. It’s not as ideal, but it is definitely better than a flat edge to fix!
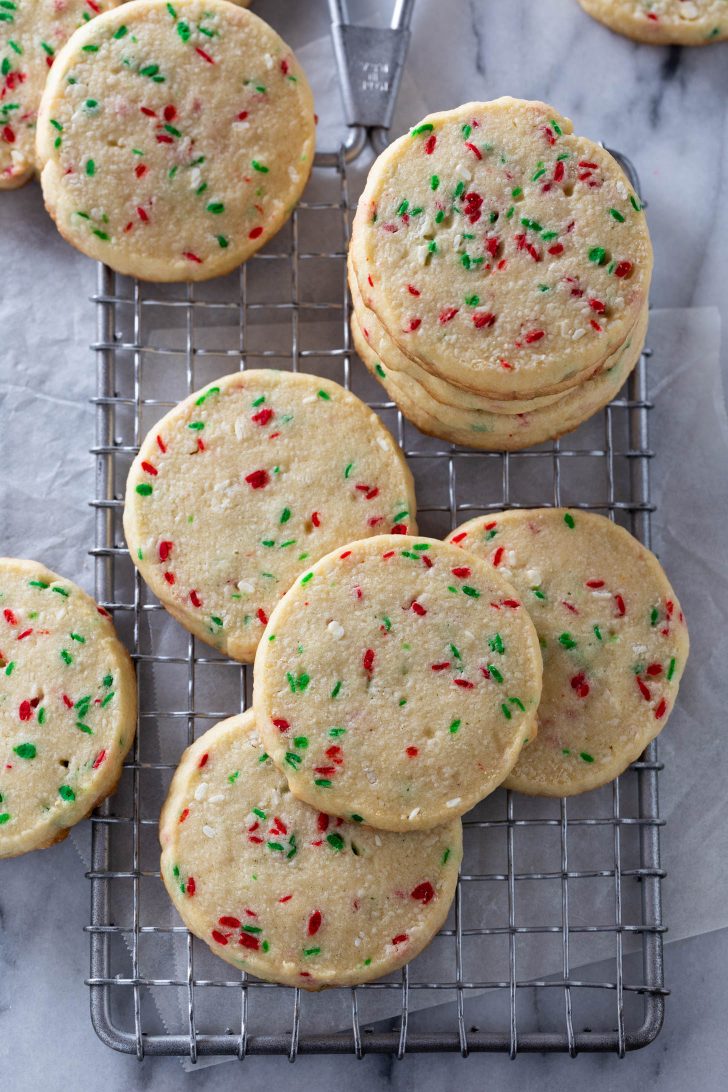
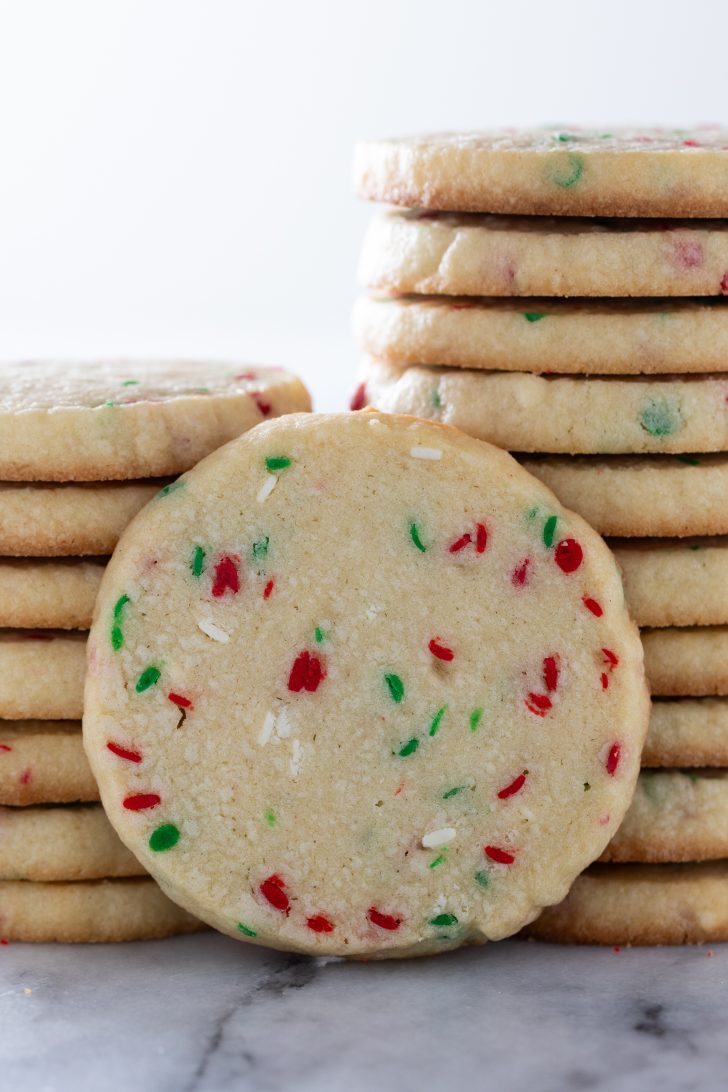
Let’s talk about those sprinkles. Holiday sprinkles are a magical and festive touch to these slice and bake funfetti cookies. But you can use whatever color combination you want or have on hand! The best sprinkles to use are traditional sprinkle shape, or what I used here… the confetti (flat disc) style sprinkle.
Whatever sprinkle you choose, they’ll be a fun addition to any cookie tray!
Be sure to add these super easy homemade slice and bake Christmas funfetti cookies to your baking plans! They’re a must make this holiday season!
Check below for troubleshooting tips, advice and how to make these slice and bake Christmas funfetti cookies!
How to Make Slice and Bake Christmas Funfetti Cookies
*Scroll down for the full recipe and ingredients!
These cookies are very easy to make but do require a 24 hour chill. Plan ahead! The good thing is you can prep this and let the dough sit even longer than 24 hours! When you’re ready to bake, it’s as simple as the title says…. slice and bake! Follow the directions and tips below for perfectly soft and delicious cookies.
- In a large bowl or stand mixer, cream your butter until light and fluffy. With your mixer running on low, slowly add in the granulated and light brown sugar. Continue mixing on low. Add in your egg, vanilla and optional almond extract (see notes below!), mixing until nearly combined. Mix in dry ingredients – minus the sprinkles! Increase your speed to pull the dough together. When your dough is combined and no streaks remain, mix the sprinkles in either with the mixers paddle attachment OR by hand using a sturdy rubber spatula.
- Divide the dough in half. Place one half of the dough on a single large sheet of wax paper. Roughly shape the dough into a 9 to 10 inch long log of dough. Use the wax paper to help shape it. Tape the center of the wax paper to hold it in place. Twist the ends. And to help keep the dough in a nice rounded log form, place the wax paper lined rough inside of a paper towel or wrapping paper tube sliced in half the long way. This will help retain that nice rounded bottom.
- Chill for a minimum of 24 hours or up to several days. This dough can also be frozen!
- Preheat your oven to 350°F.
- Line a baking sheet with a silicone baking mat or parchment paper.
- Remove one log of dough from the refrigerator and remove from the wax paper. Using a sharp knife, carefully cut dough into 1/4-inch thick slices. Place 2-inches apart on prepared baking sheet.
- Return remaining dough to the refrigerator.
- Bake cookies at 350°F for 8-10 minutes.
- Allow cookies to rest for 1 minute on the baking sheet prior to transferring to a wire rack to cool completely.
- When cookies have cooled completely, they may be stacked and stored in an airtight container.
Check below this post for even more delicious recipes to make this season!

This post may contain affiliate links.
Recipe tips and troubleshooting
As written, this recipe will make roughly 4 dozen: 3-inch cookies (48) cookies. Serving size will vary from one family to another.
When forming your dough into a log, aim for roughly 9-inches long by 2-inches wide.
Yes! This recipe requires a minimum of 24 hours chilling time.
Follow the chilling instructions in the recipe for best results. When chilling is recommended in a recipe. it is often there for firming up the dough, preventing spreading or even to help deepen the flavor of a recipe. in this case, the chill time helps to firm up the dough and prevent overspreading of the cookies when baking. A nice cool but firm dough is important before slicing and baking.
These can easily be stored for a week or longer in an airtight container. Dough and baked cookies may also be frozen. These will do wonderful as a gifted cookie for the holidays.
Yes! Mix and shape the cookie dough as directed, then transfer your dough to a freezer safe packaging and label well! Frozen cookie dough will keep for up to a year. Label your cookie dough with any important recipe information for later.
Standard colorful sprinkles or the confetti style sprinkles work best with this recipe. Avoid using nonpareils (the tiny balls).
Yes! After removing your dough log from the refrigerator, you can roll the dough in sanding sugar or nonpareils.
No! It’s a bonus flavor but if you don’t like it, don’t have it or can’t consume it – don’t use it. I would recommend increasing the vanilla by another 1/2 teaspoon to make up for the missing ingredient though.
Please note there is a difference between pure almond extract and imitation almond flavor – either can be used. Do not use pure almond extract if you are allergic to tree nuts.
Yes and no. Baking is a science. This recipe works with the exact measurements listed. Altering one or several of those can cause the recipe to fail. If you’re familiar with baking substitutions, go for it! Outside of any alterations I’ve already mentioned, for specific substitution questions, ask in the comments below.Add question

Slice and Bake Christmas Funfetti Cookies
Ingredients
- 1 C unsalted butter, softened
- 3/4 C granulated sugar
- 1/2 C light brown sugar, packed
- 2 large eggs
- 1 1/2 tsp vanilla extract
- 1/2 tsp almond extract, pure or imitation
- 1/2 tsp baking powder
- 1/2 tsp salt
- 3 C all purpose flour
- 1/2 C holiday sprinkles
Equipment
Instructions
- In a large bowl or stand mixer, cream butter until light and fluffy. Mix in granulated and light brown sugar. Add one egg at a time, followed by vanilla and optional almond extract. Mix in baking powder and salt, followed by one cup of flour at a time. Mix until fully combined and no streaks remain. Lastly, mix in sprinkles either using the stand mixer or stirring them in by hand with a rubber spatula.
- Dough may be divided in half and shaped immediately or chilled for an initial 30 minutes prior to diving and shaping.
- Divide dough in half. Place one half of the dough on a single large sheet of wax paper. Shape into a roughly 9-inch long smooth log. Wrap in wax paper. Tape the center of the wax paper and twist ends to seal. Transfer shaped log of dough to the refrigerator. Optionally, to prevent flat sides, place dough log inside of the center of a paper towel or wrapping paper tube sliced lengthwise.
- Repeat process with remaining dough. Chill for at least 24 hours or up to several days. If desired, dough may be rolled in sanding sugar or nonpareils after chilling.
- Preheat oven to 350°F. Line a baking sheet with a silicone baking mat or parchment paper.
- Carefully slice 1/4-inch thick slices, spacing 2-inches apart. Bake at 350°F for 8-10 minutes or until the edges just begin to turn lightly golden. Do not overbake. Allow cookies to rest on the pan for 1 minute prior to transferring to a wire rack to cool completely.
- When cookies have cooled completely, they may be stacked and stored in an airtight container.
More delicious cookies to make this season:
- Christmas Pinwheel Sugar Cookies
- Spiced Gingerbread Kiss Cookies
- Snickerdoodle Kiss Cookies
- Soft Glazed Gingerbread Cookies
- Cranberry White Chocolate Oatmeal Cookies
- Slice and Bake Cranberry Pistachio Cookies
- Classic Soft and Chewy Snickerdoodle Cookies
- Eggnog Kiss Cookies
- Chewy Ginger Molasses Cookies
- Lemon Sugar Cookies
- Double Chocolate M&M Cookies
